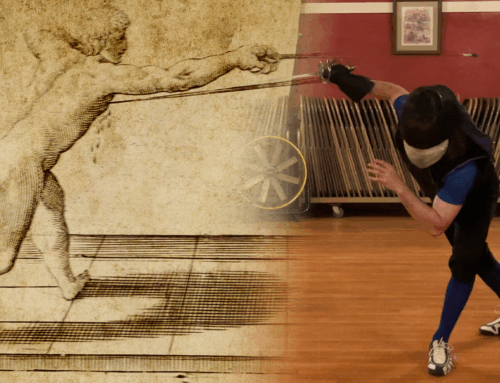
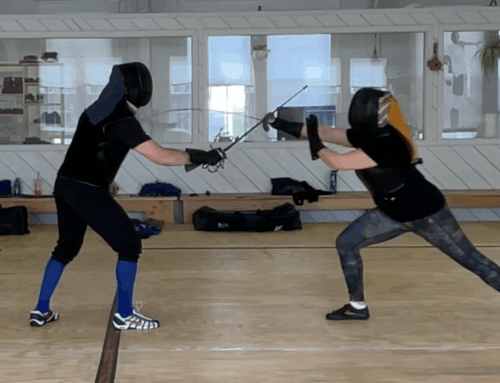
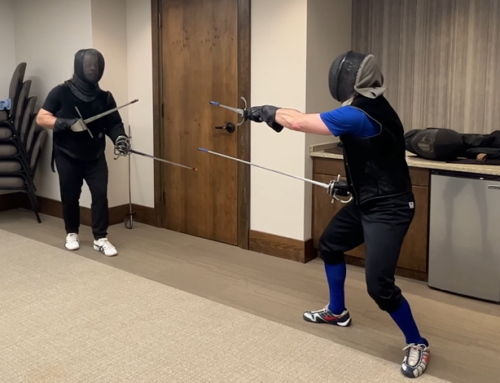
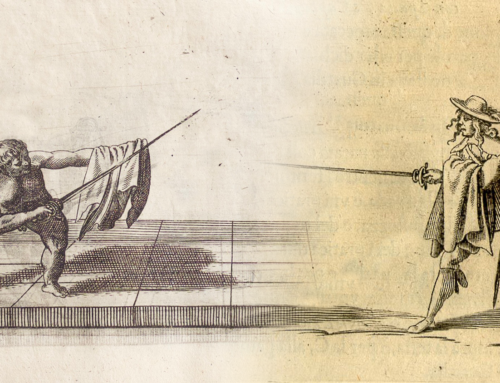
One of the more fun aspects of rapier fencing (to me) are the use of voids. There is something really graceful and magical about lurring your opponent to attack where you are only to be somewhere else completely as the blow should land.
Parry-ripostes are bread & butter; body voids are divine.
In this blog post & video, we look at a fun way that we can work on our girattas or body-voids as well as our low-line voids — all without a partner.
One way we can do that is simply filming ourselves performing voids and then analyzing it to find spots where we can improve on our mechanics, similar to the feint drill in my last video. And that’s a great way for getting external feedback and refining our mechanics — such as making sure we’re moving in good order, etc. But it lacks the dynamic nature of performing a void and a key feature of voids — avoiding around an attack.
So we’re going to focus on more active voiding drills we can do solo at home. And you don’t even need a sword for the first two drills either.
All we need is a little space and a fencing pendulum.
First Off, What are Voids?
Before we dive into the exercises, we should go over quickly what we’re talking about when we talking about voids.
In short, voids or body voids are movements that get our body off our opponent’s line of attack. If your opponent throws a shot at you and it doesn’t hit you because you moved your body out of the way, you have voided the attack.
However, we see a few common movements across the Italian masters that we really hone in on when talking about voids. They are giratas and low-line voids.
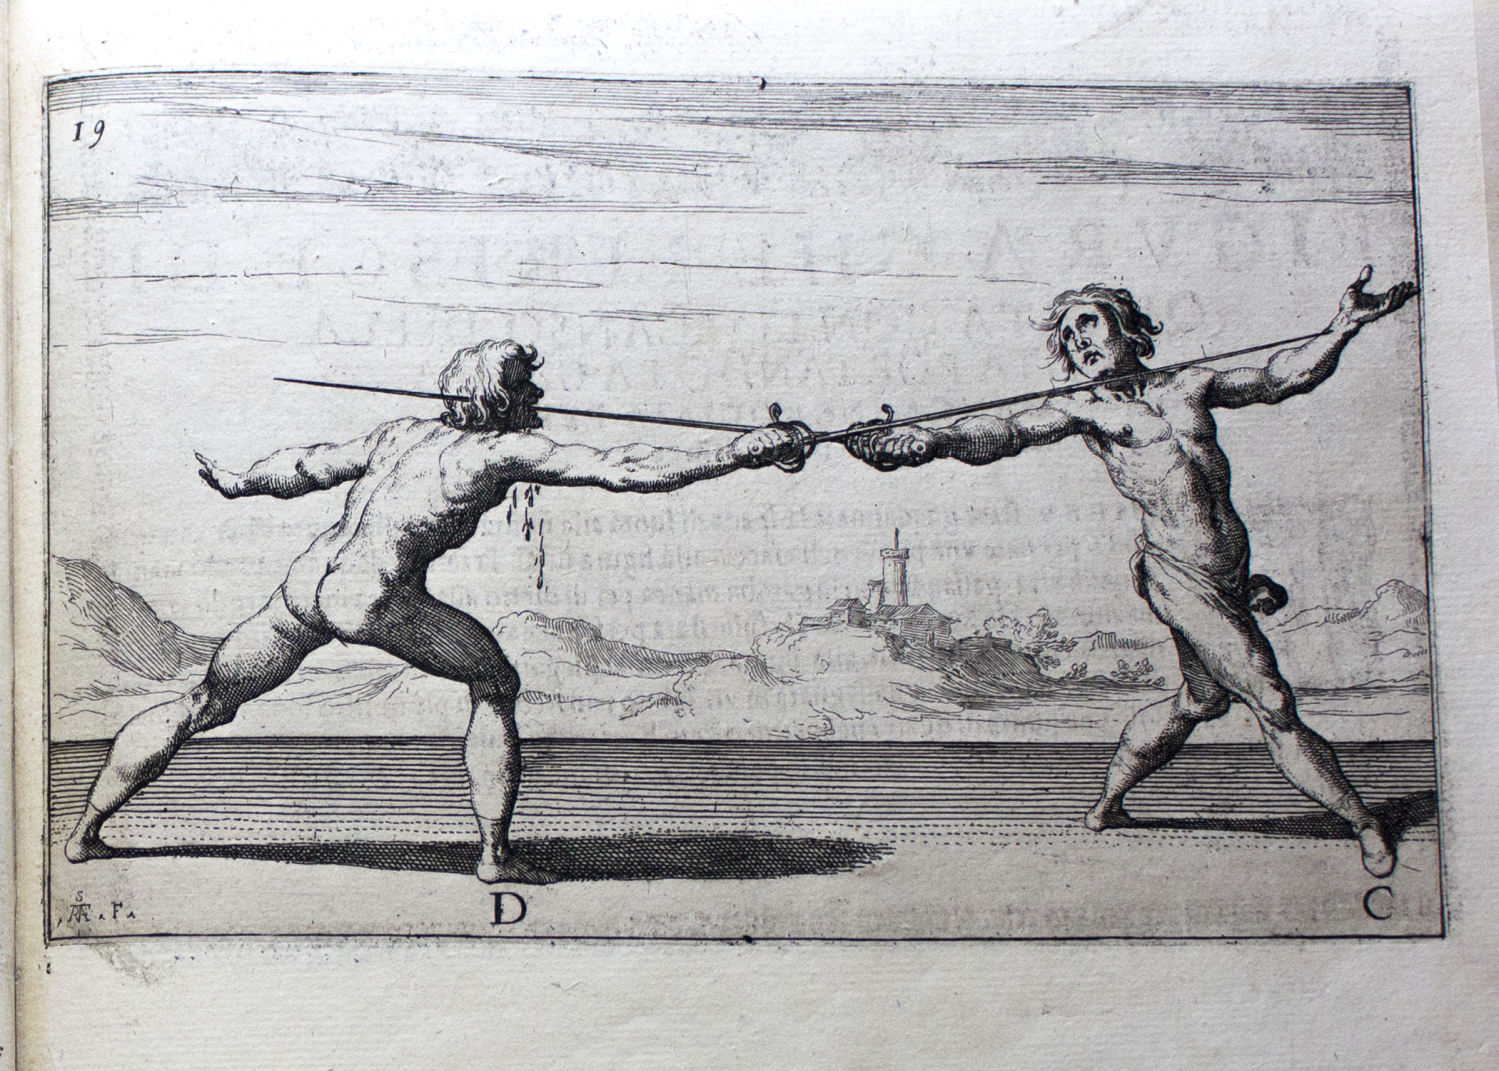
Giratas is the term used by Fabris. It’s a turn of the body that begin with and void the rear shoulder from the line of the opponent’s attack. These are done by moving your body toward your outside line.
We can break giratas down into two sub-groups:
- Girata (void) of the right foot
- Girata (void) of the left foot
In Capoferro, these voids are called scanso del pie dritto and scanso della vita, respectively. In the French school, they are demi-volte and voltes (also spelled volta).
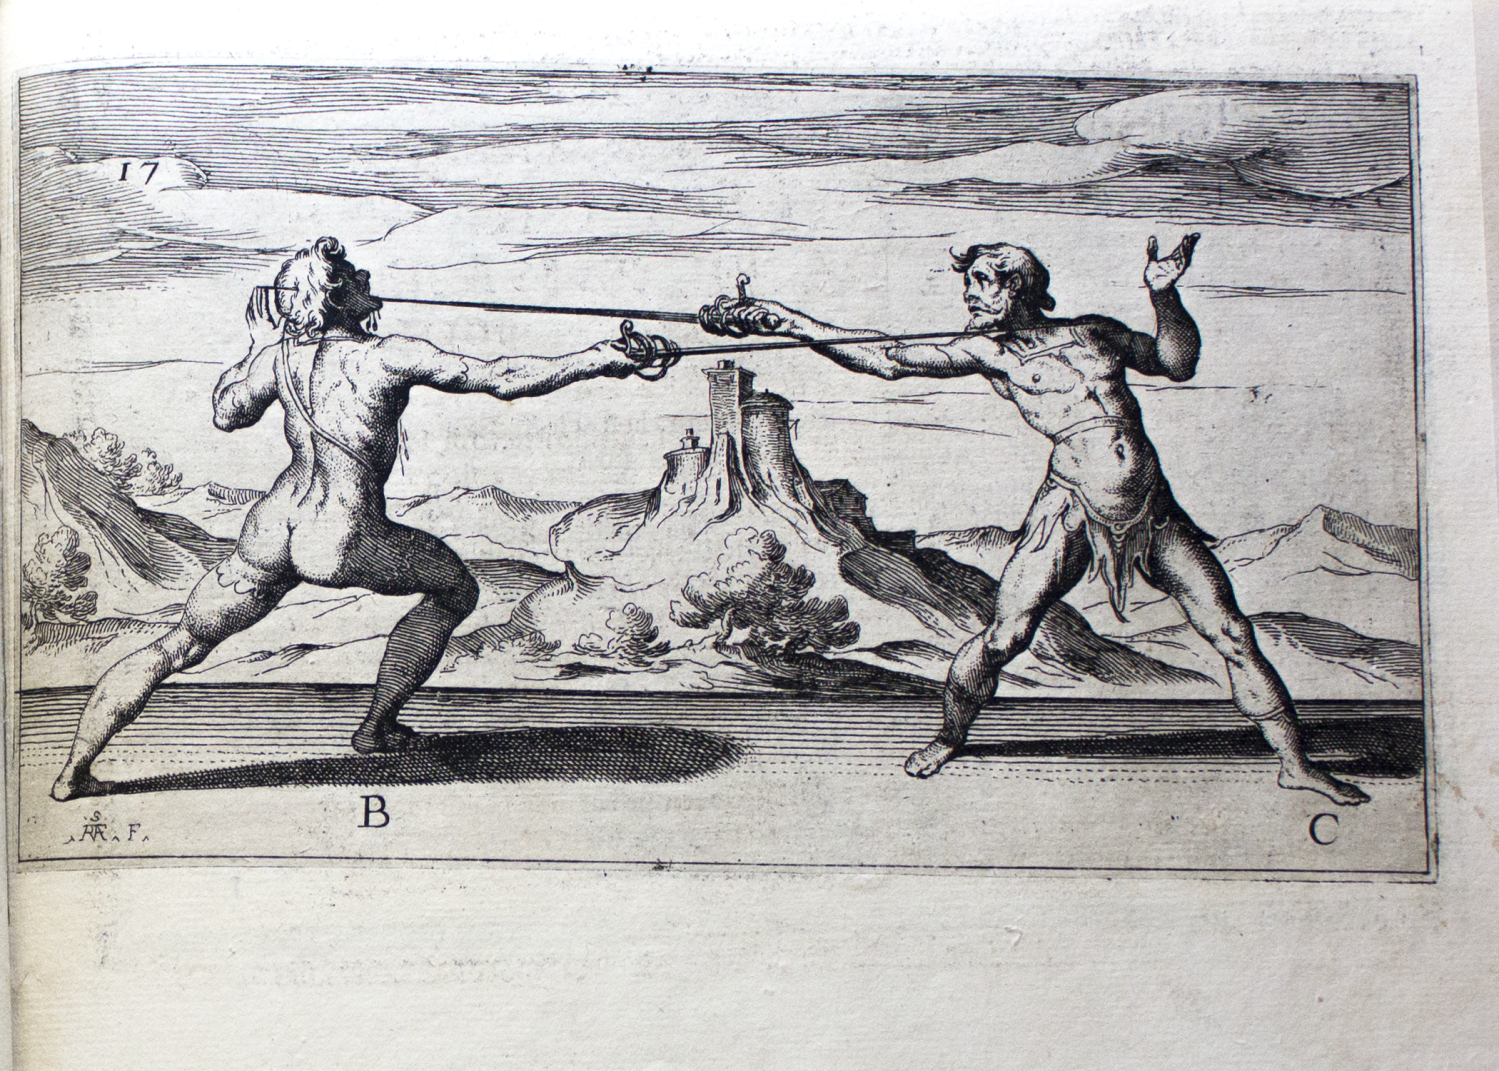
And in some modern teachings we see the Void of the Right Foot broken down into two sub-versions — girata stabile and the mezza girata — but, historically, they are considered the same void.
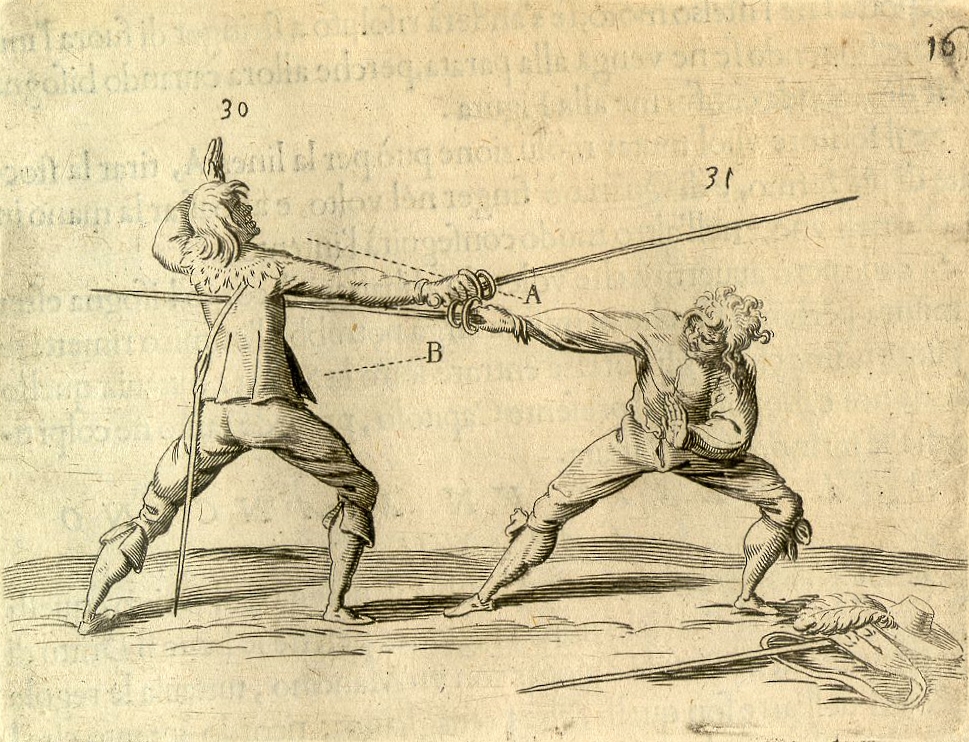
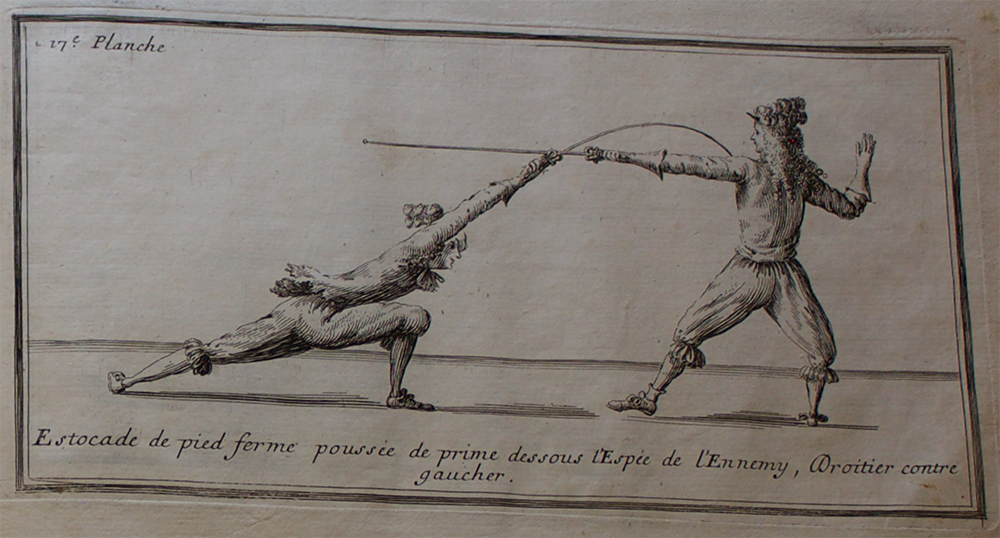
We also see voids where we pass underneath our opponent’s sword. These are typically described as a lunge or pass while “carrying the body low.” Some modern teachings will break these down into a low-line void while lunging backwards (reverse lunge), a low-line void while lunging forward (sbasso), and a low-line void while making a passing step (pasatta sotto).
Also of note, historically, the pasatta sotto can mean both a low-void lunge or a low-void pass. In later schools, we see the off-hand placed against the ground to brace the fencer as they dropped low very violently, however, this is also a good way of screwing up your wrists so I don’t recommend that version of the move — especially since we are practicing this for sport and not actual self-defense.
In Alfieri, we also see a low-void in which the victor hasn’t moved their feet at all but has just voided their body beneath the attack.
Also, historically, there is no such thing as “too low” with these low-void attacks/counterattacks, as displayed in some late-17th Century French schools like Philibert de la Touche and art depicted by Louis Francois du Bouchet.
For the sake of this blog/video and drill, we’re using these terms for our voids:
- Girata Stabile. Voiding the rear shoulder by pivoting on the ball of the front foot.
- Mezza Girata. Voiding the rear shoulder by stepping our lead foot off-line to our outside line (between 1:00-2:00 on the clock face, typically).
- Tutta Girata. Voiding the rear shoulder by making a passing step with our rear foot behind our lead leg.
- Reverse Lunge. A lunge in which we retreat the rear foot instead of advancing the lead foot.
- Sbasso. A lunge below the opponent’s sword, ending in an extremely low position
- Pasatto Sotto. A passing lunge below the opponent’s sword.
Setting Up for the Drills
First up, we need to set up our fencing pendulum. You can buy a metal pendulum, based off the a tool used in the German school (called a pendelziel), but a tennis ball weighted with coins is a bit more cost effective and found in later Italian rapier schools.
Find a good spot to hang your pendulum. From the ceiling in the middle of a room is the ideal spot as it will give you the most space to work with, but these drills still work fine in a narrower space, too, like in a doorway. In the video, I hang my pendulum in the middle of a double-wide doorway.
You’ll want to hang the ball so it’s about mid-chest height. Make sure it’s secured in place so it doesn’t go flying off.
NOTE: There is the likelihood of getting hit by the ball, so wear protective gear like a padded shirt or a fencing mask at your own discretion.
Drill #1 – Stationary Voids
Our first drill focuses just on the void mechanics itself and is great for getting a lot of repetitions in a short period of time.
You’ll want to start already in-measure of your pendulum. Get into your stance and draw the ball back past your chest to about ear height. When you’re ready, release the ball.
Keep your eye on the ball as it travels away from you and then back. When it gets close, perform your void. When the ball passes back, quickly recover and get ready for the next rep. You can do this for all three giratas and three low-voids and can be done with or without a sword.
Make This Drill Harder
For extra difficulty, see how late in the pendulum’s arc you can wait before performing the three girattas and low voids and not get hit.
You can also play around with the pendulum’s target, too, by having it aimed first at your centerline and then moving it closer to your sword-arm. See how that changes which voids work best.
Drill #2 – Voids with Footwork
We can take this drill a step further and add in footwork before the void.
This time you’ll want to set up a little bit out of measure of the pendulum’s arc. Again, pull the ball back to your face height and let go.
Take some advancing steps toward the ball and then voiding as it’s about to hit you. And like the first drill, you can do this with or without a sword in hand.
Two Ways to Conclude Each Rep
I recommend doing a mix of (1) holding your posture after voiding the pendulum as well as (2) recovering from the void both forward and backwards.
By holding the position, we get some stability work in and can make sure we’re in full-control of our bodies instead of just throwing our weight around. Meanwhile, at-speed and in a bout, we don’t want to just hang out in our void pose — even if it looks really cool & pretty — so working on how to recover from a void is also super important.
Think About Your Footwork
This is also a great opportunity to really learn and see which girata and low-void work best depending where you are in your footwork.
For example: figure out which girata is easiest to perform when your lead foot is in the air, when it’s just landed, and when it’s holding more of your weight distribution. You might find that what works best for one doesn’t work as great for the others.
Drill #3 – Void & Strike Target
This is similar to the second drill but this time we’re not only trying to avoid being struck by the pendulum but we want to strike a target behind it.
The setup for this drill is similar to the first two drills, but you’ll want to put a target a few feet away from the pendulum’s bottom position. I’m using my fencing pell Rochefort for this demo, but my wife has strapped couch cushions to an office chair to achieve the same idea. Channel your inner-MacGuyver and get creative.
As for performing this drill, set yourself up similar to the second drill. Let go of the ball and then advance toward it. Perform your void while continuing forward, striking the target.
This drill variation is a super useful for practicing voids because not only are we having to strike a target while voiding, but it’s also mixing in footwork, measure, tempo, and our defensive target — all aspects that we need to consider and quickly analyze to perform a successful void in a bout.
Don’t Break Too Early
You’ll want to make sure you’re advancing forward with an extended arm, and only bending your elbow or “breaking your arm” after your blow has landed. See what voids work best depending on how close your measure is to the target.
Make This Drill Harder
For added variation, you can play around with the pendulum’s target, like we did in the first drill. Start off with the ball aimed at your centerline and then position yourself so it’s aimed closer to your sword arm.
Troubleshooting
So one thing that might happen in these drills is you find yourself getting hit more often than not. If that happens, there are few checkpoints to look at:
First, are you moving in good order? In the case of our girattas, we want our back shoulder moving first to get our toros off the line of attack ASAP.
For the low voids, you want to make sure you’re bending toward your inside line and not leaning forward into the line of attack. If you’re in a more forward lean, something akin to the Fabris stance or a Forward Guard we see in other Italian masters, you can worry less about the lean and more just getting super low.
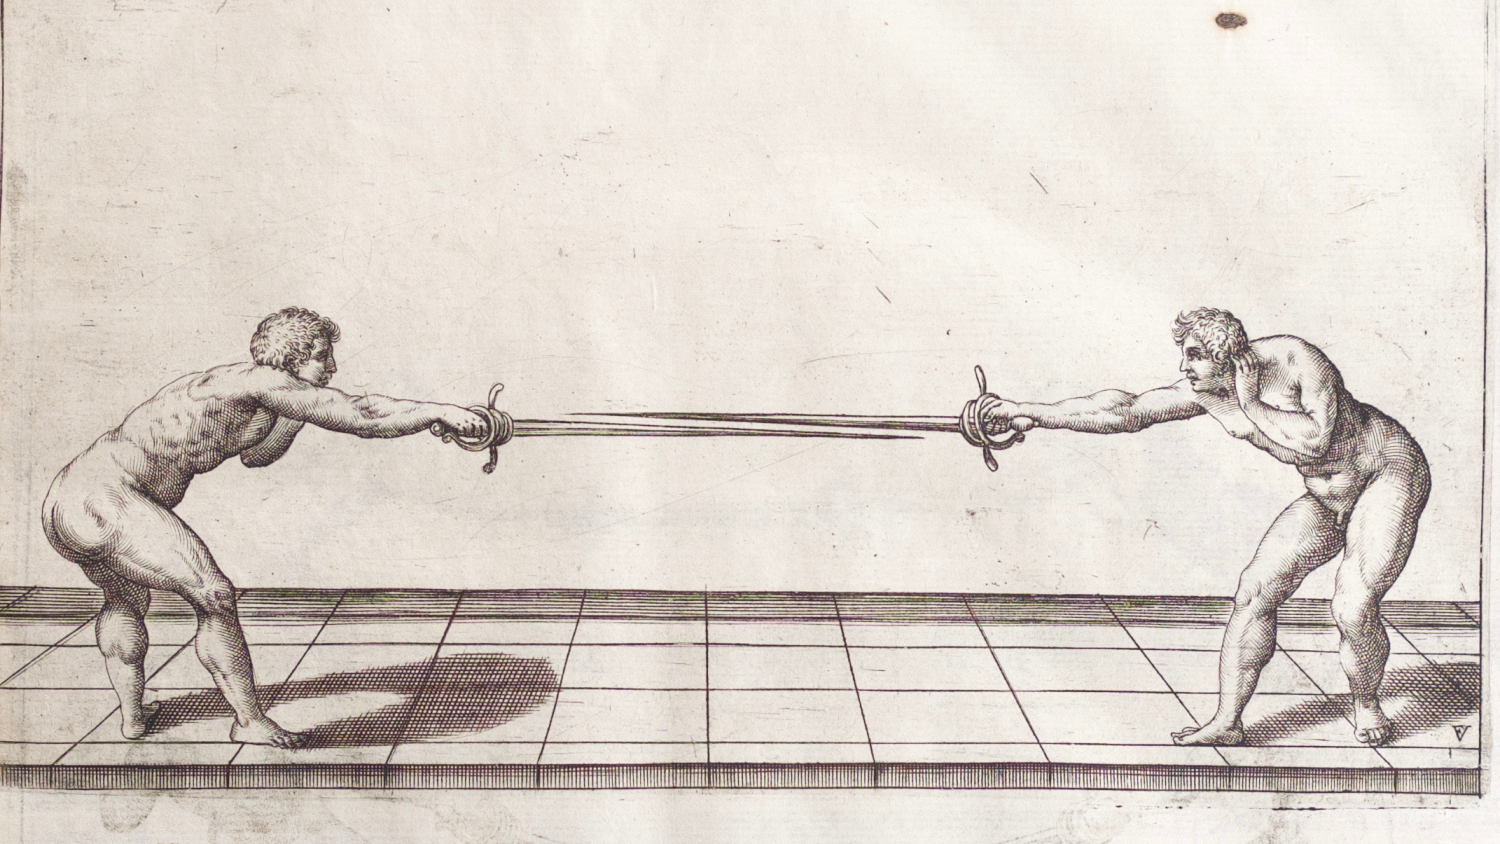

For giratas, you also may want to play around with how much of an arc you can put on your back when voiding but please be mindful when it comes to your spinal extension, especially if you have a history of back issues.
Secondly, are you moving soon enough? It’s good to get an idea how late you can move and avoid getting hit by, but if you’re getting hit quite frequently you might be going too late. Try moving a lot earlier and slowly increase the wait time before performing your void. This will gradually increase the difficulty of the drill while allowing you a series of successes.
And lastly, are you using the right void? If the pendulum is aimed close to your sword-arm, a simple girata might not be enough to get your body off the line of attack. This is especially true with folks with larger chests; trying to get super profile, like we do with giratas, might not actually make you a smaller target and a different void is required.
If you’re running into other issues, leave it in the comment section and I’ll try to help you out!
DONATIONS: Videos & blogs are 100% free, however, if you find these resources useful, please consider a small donation so I can continue to produce rapier & other historical martial arts content. Donate at https://www.paypal.me/thetavernknight
SOURCES
Alfieri, Francesco Ferdinando. La Scherma: The Art of Fencing. Padua, 1640. Wiktenauer. Accessed: 1/24/21.
Capoferro, Ridolfo. Gran Simulacro. Courtesy of Guy https://gumroad.com/guywindsor?query=capoferro&sort=featured#RETLh
Fabris, Salvator. Fabris’s Sienza e Pratica d’Arme, 1606. Scanned by Petteri Kihlberg (2015). Courtesy of Guy Windsor. https://gumroad.com/guywindsor#xgWFH
Touche, Philibert de la. Les Vrays Principes de l’Espee Seule. Paris, 1670. Courtesy of Guy Windsor. https://gumroad.com/guywindsor?query=touche&sort=featured#vnAHR


